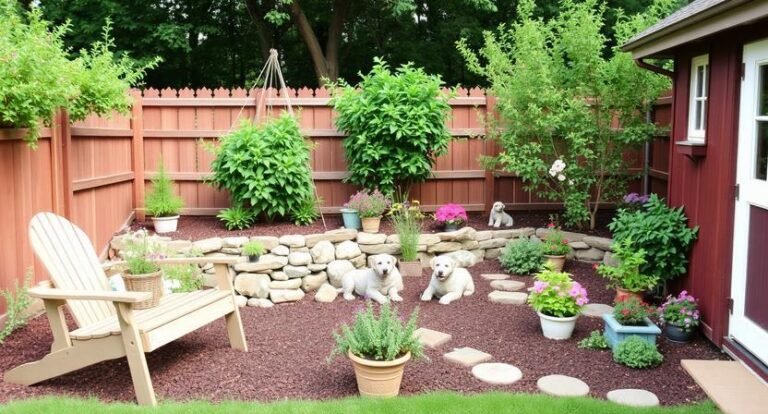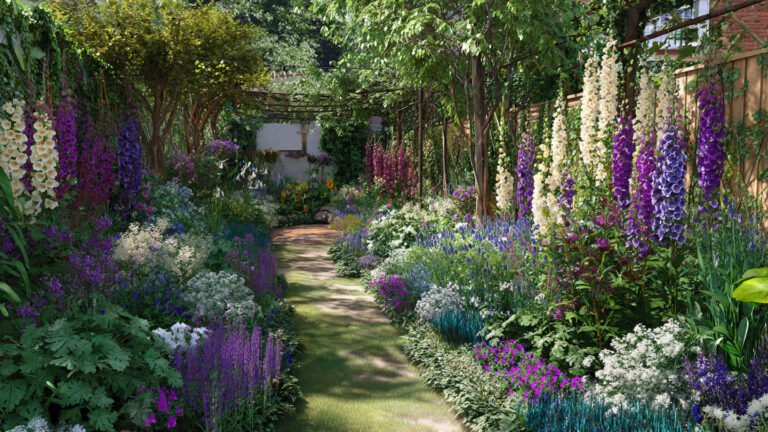
How to Make a Fairy Garden: A Complete Step-by-Step Guide
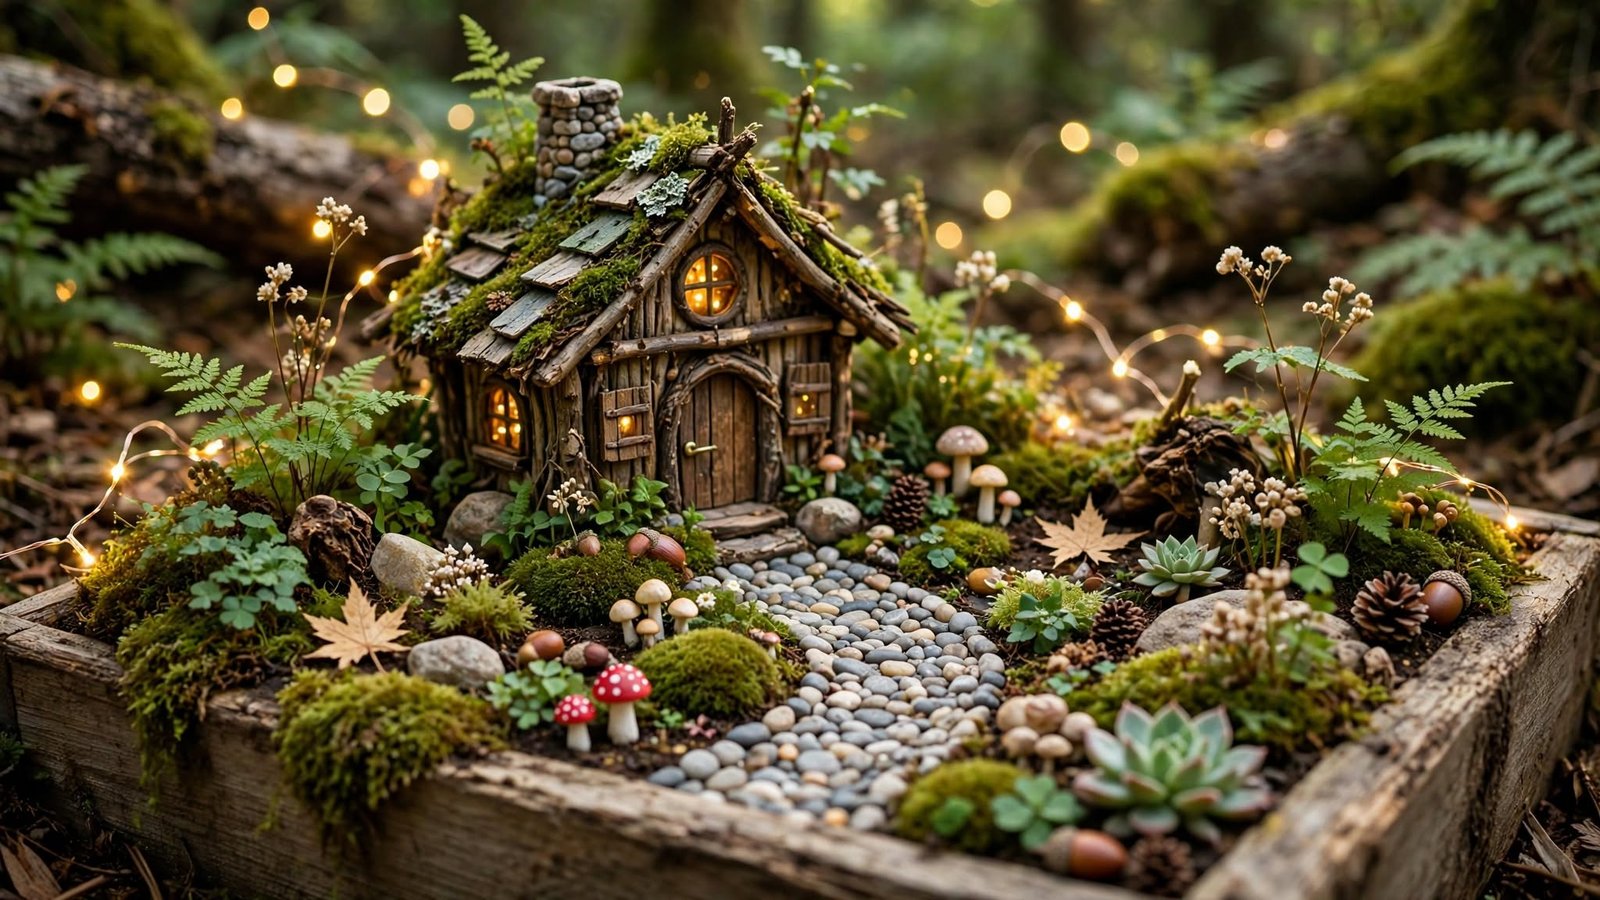
There’s something quietly magical about a fairy garden. It’s part miniature landscape, part storybook, and part gardening project — a tiny world you build with your own hands, where a thimble-sized bench sits under a moss “tree” and a pebble path winds toward a door no bigger than your thumb. Whether you want a whimsical corner for your patio, a project to do with your kids, or a centerpiece for your dining table, making a fairy garden is easier than it looks, and this guide will walk you through the entire process from start to finish.
By the end, you’ll know how to pick the right container, choose plants that actually survive in miniature form, add accessories that bring the scene to life, and adapt the whole idea to fit your space, budget, and style.
What Is a Fairy Garden, Exactly?
A fairy garden is a small-scale garden designed to look like a magical dwelling for fairies. It typically combines living plants (often mosses, succulents, or dwarf varieties) with miniature furniture, tiny houses, pebble paths, and other decorative touches sized to match. Some people build them outdoors in garden beds, others prefer containers on a porch, and many keep them indoors as a year-round decorative feature.
The beauty of a fairy garden is that there’s no single “correct” way to build one. You can go big and elaborate or small and simple, and the project scales easily whether you’re working with a full garden bed or a teacup.
Step 1: Decide Where Your Fairy Garden Will Live
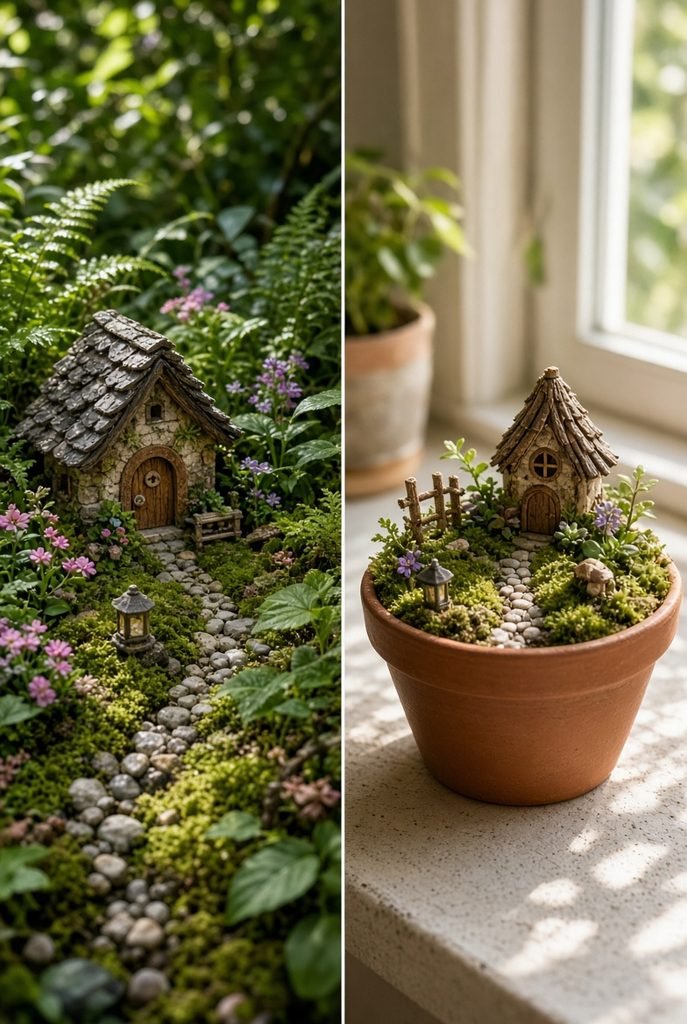
Before you buy a single plant, decide on location, because this determines almost every other choice you make.
If you have outdoor space, you might build directly into a garden bed or a dedicated corner of the yard — this guide to outdoor fairy garden ideas is a great place to see how much variety is possible, from woodland-style scenes tucked under trees to fairy villages built into rockeries.
If you’d rather keep things portable or you’re short on yard space, a container is the way to go. Containers also make it much easier to control soil, drainage, and sunlight. Take a look at these fairy garden container ideas for inspiration on shapes and materials, or browse fairy garden planter ideas and fairy garden pot ideas if you already have a planter or pot you’d like to repurpose.
Prefer to keep your fairy garden inside? It’s entirely possible, and often easier to maintain since you control humidity and light year-round. This roundup of indoor fairy garden ideas shows how well fairy gardens work as houseplant displays, and if you want one somewhere more personal, these fairy garden bedroom ideas show how a small glowing, whimsical scene can double as a nightlight-style decor piece.
Step 2: Choose Your Size and Theme
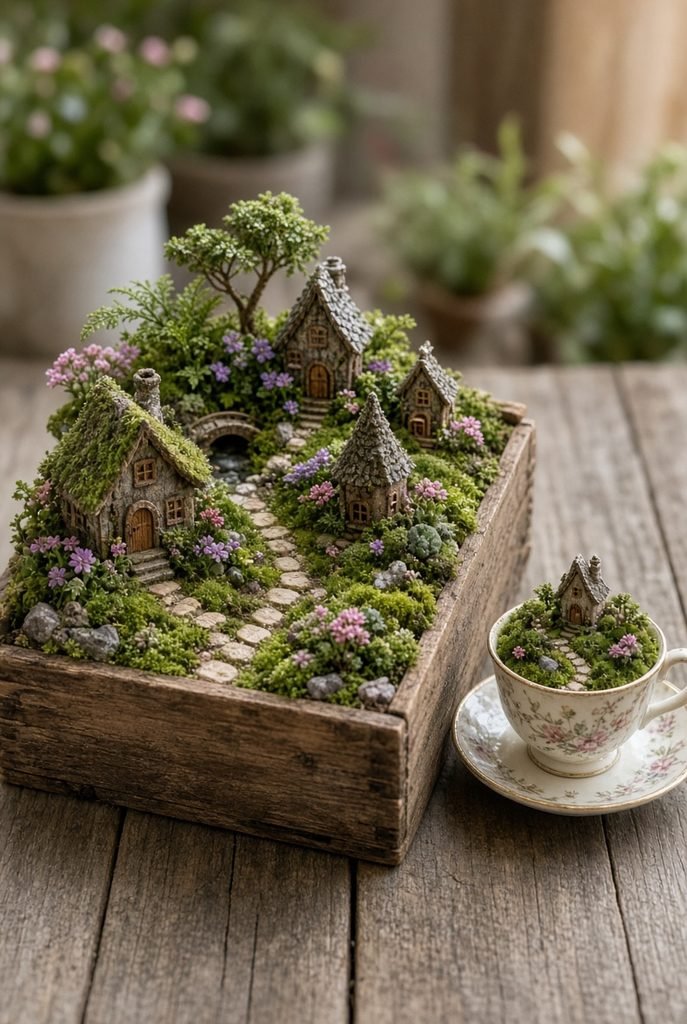
Fairy gardens can be as small as a teacup or as large as a full garden bed. Deciding on scale early will save you from buying the wrong plants or too many (or too few) accessories.
- Going big: If you have the space and want an immersive scene with multiple “rooms,” paths, and even a small pond, check out these large fairy garden ideas for layout inspiration.
- Keeping it small: If you’d rather start modest — a single pot, a teacup, or a small dish — these small fairy garden ideas prove that scale doesn’t limit charm at all. Small gardens are also the easiest way to test the hobby before committing to something bigger.
As for theme, popular options include woodland cottages, beach scenes, fairy villages, zen gardens, and seasonal designs (like a winter wonderland or a Halloween-themed fairy garden). Pick a theme that matches the space you’re placing it in and the materials you already have on hand — it’ll make shopping for accessories much simpler.
Step 3: Gather Your Materials
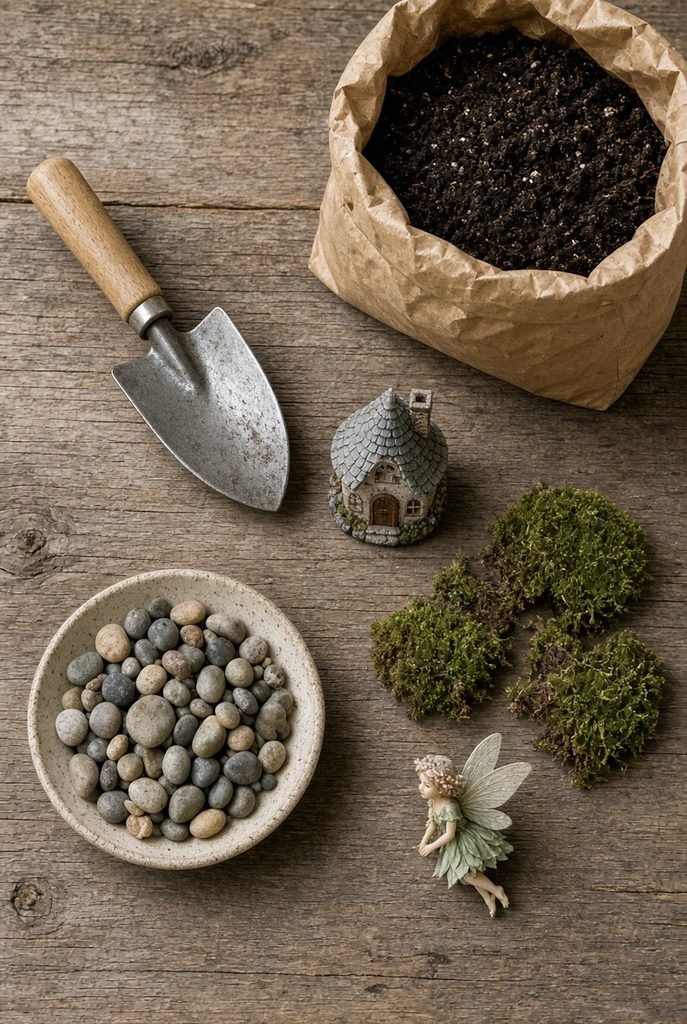
Once you know your location and size, it’s time to gather supplies. At a minimum, you’ll need:
- A container or garden bed (see Step 1)
- Potting soil suited to the plants you plan to use
- Small plants or moss for greenery
- Miniature accessories — houses, furniture, bridges, fairy figurines, fences
- Decorative elements — pebbles, sand, small pieces of bark, tiny pathways
- Basic tools — a small trowel, gloves, and something to tamp down soil (an old spoon works well for tight spaces)
You don’t need to buy everything new. In fact, some of the most charming fairy gardens are built almost entirely from things you already own or can find cheaply. These homemade fairy garden ideas show how repurposed materials — broken pottery, twigs, bottle caps, and scrap wood — can be turned into miniature furniture and structures. And if you’re working with a tight budget, this list of dollar tree fairy garden ideas proves you can build a genuinely beautiful fairy garden for just a few dollars using items from a discount store.
Step 4: Prepare the Base and Add Soil

Whether you’re using a container or a garden bed, start with a layer of drainage material at the bottom if there’s no drainage hole — small stones or broken pottery pieces work well. This prevents roots from sitting in water and keeps your miniature plants healthy.
Fill the container with potting soil suited to your chosen plants. Succulents and cacti need a fast-draining, sandy mix, while mosses and shade-loving plants prefer a soil that retains a bit more moisture. Leave the soil slightly below the rim so you have room to add pebbles, sand, or moss on top later without spilling over the edges.
Step 5: Choose and Plant Your Greenery
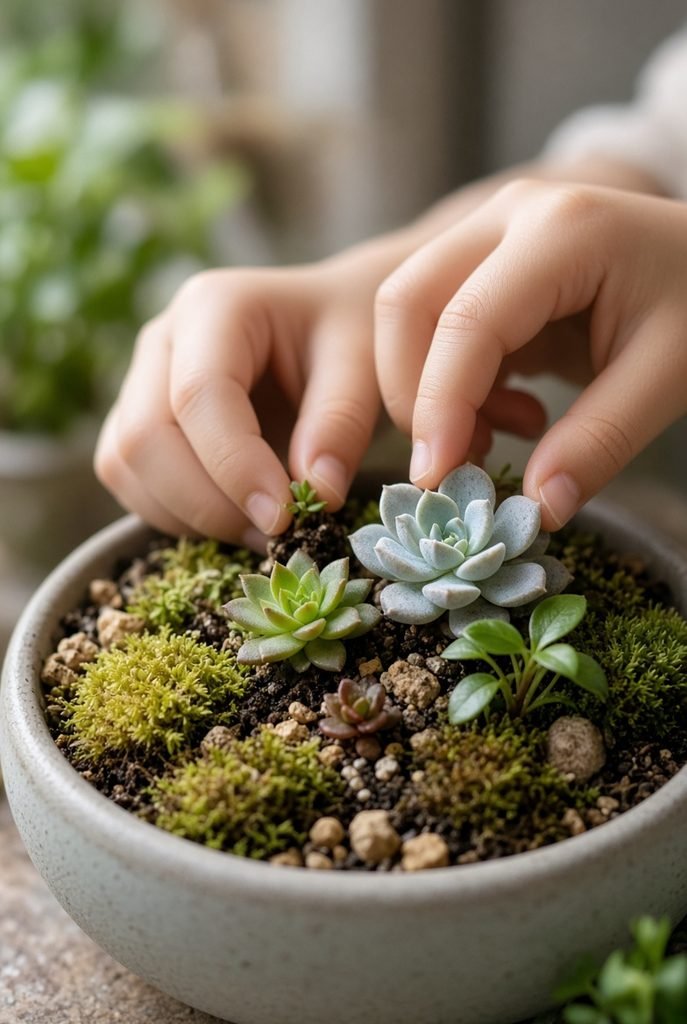
Plant selection is where a fairy garden really comes to life, and it’s also where many beginners go wrong by choosing plants that grow too fast or too large. Look for:
- Miniature or dwarf varieties of common houseplants
- Mosses, which naturally look like miniature lawns or hills
- Slow-growing succulents, ideal for sunny spots
- Small ferns, which work beautifully in shaded, indoor setups
- Thyme or other creeping groundcovers, which can mimic grassy paths outdoors
Plant these in clusters that mimic a real landscape — taller plants toward the back or center to represent “trees,” and low groundcover plants near the front to represent “lawns” or “paths.” Leave open patches of soil or sand for the pathways and structures you’ll add next.
Step 6: Add Structures, Furniture, and Fairy Figures
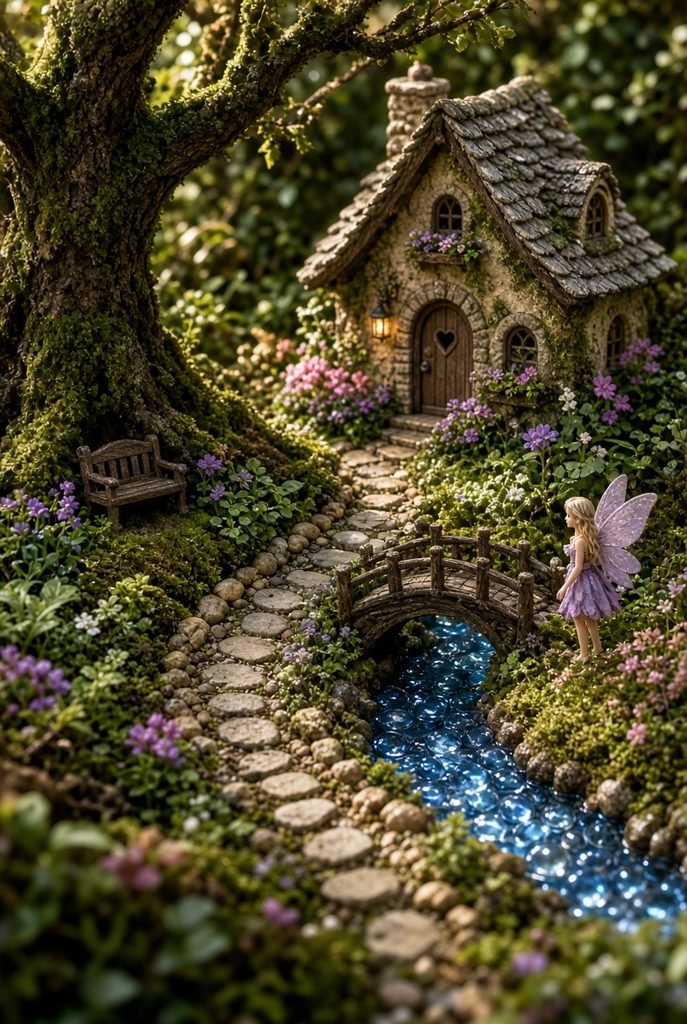
This is the fun part. Once your greenery is in place, start layering in the miniature world:
- Place a small house or cottage as the visual anchor of the scene
- Add a path leading to the door, using pebbles, sand, or crushed shells
- Tuck in furniture — benches, tables, swings — in spots that make sense (under a “tree,” beside the “house”)
- Add small accents like a wheelbarrow, a birdhouse, a bridge over a “stream” made of blue glass beads, or a tiny mailbox
- Finish with one or two fairy figurines, placed as if they’re mid-activity rather than standing stiffly in the center
If you want to see how all of these elements come together in a finished design, this collection of fairy garden centerpiece ideas is especially useful — centerpiece-style fairy gardens are built to be viewed from all angles, so they tend to show off layout and balance particularly well.
Step 7: Making a Fairy Garden with Kids
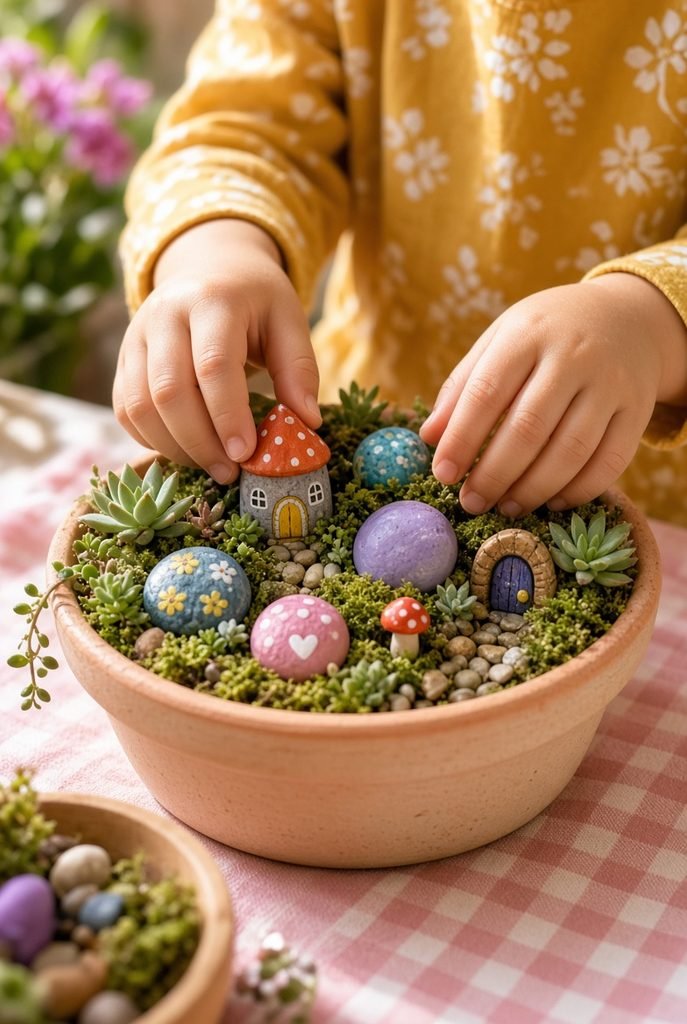
Fairy gardens are one of the best gardening projects to do with children, since the small scale keeps the project quick and the “magical” theme keeps kids engaged from start to finish. Simplify the process for younger children by pre-measuring soil, choosing sturdy plants that can handle a little rough handling, and letting them take the lead on placing figurines and decorations — that’s usually the part kids enjoy most anyway.
For age-appropriate projects, material lists, and design ideas that hold up to enthusiastic little hands, this guide to kids’ fairy garden ideas is a great starting point. Many of the projects there use safe, simple materials like painted rocks and craft-store miniatures instead of fragile pieces.
Step 8: Turn It Into a Party Theme
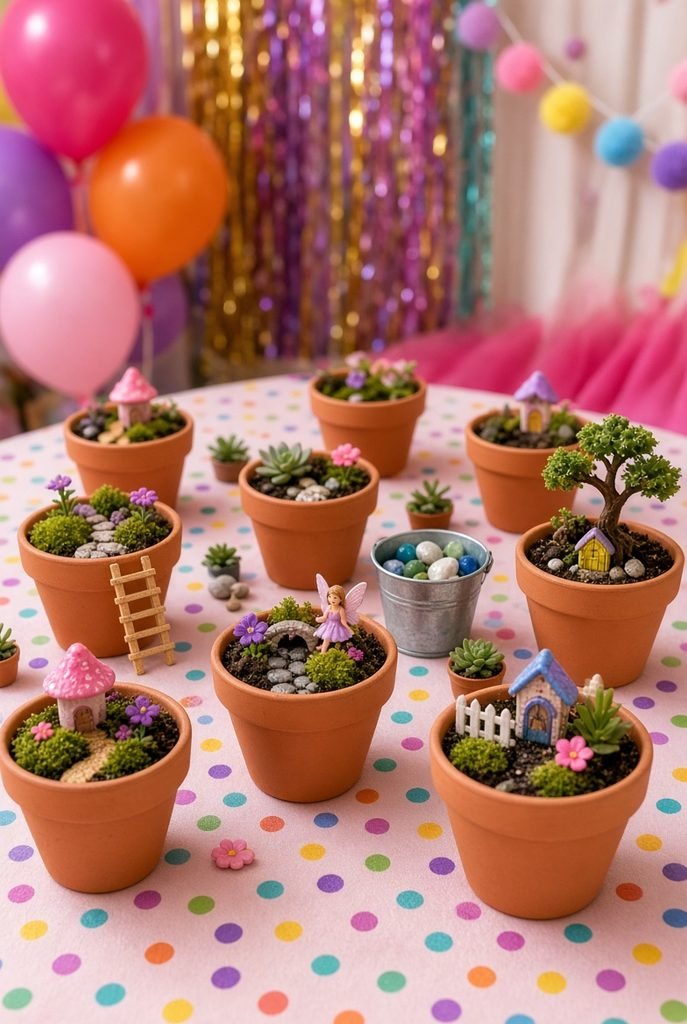
If you’re planning a birthday party, playdate, or classroom activity, building fairy gardens can double as the party activity itself. Set up individual small pots or containers, pre-portion the soil and plants, and lay out a table of miniature accessories for guests to choose from. Everyone leaves with their own finished fairy garden to take home.
For full setup guidance — including decor, favors, and activity stations — check out these fairy garden party ideas, which cover everything from tablescapes to take-home kits.
Step 9: Maintain Your Fairy Garden
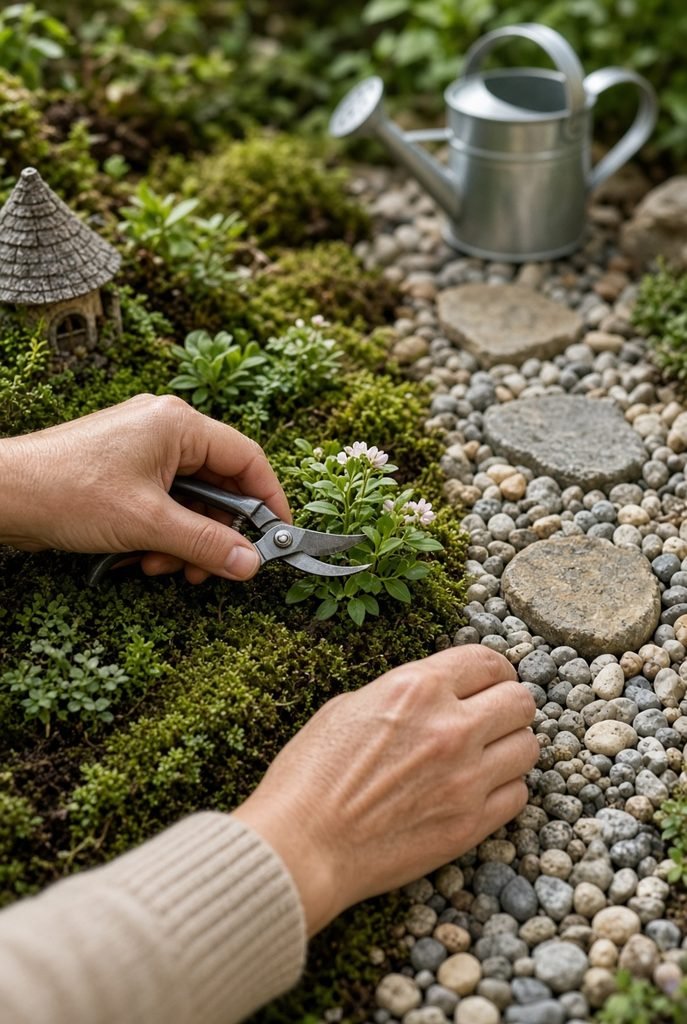
Once your fairy garden is built, upkeep is fairly minimal, but a few habits will keep it looking its best:
- Water according to plant needs, not on a fixed schedule — succulents need far less water than moss or ferns
- Trim back growth regularly so plants stay in proportion to the miniature scale
- Dust or rinse accessories occasionally, especially outdoors where dirt and pollen build up
- Rotate indoor fairy gardens toward the light source periodically so plants grow evenly
- Refresh pathways (sand, pebbles) if they get disturbed by watering or weather
Because everything is scaled down, a fairy garden that starts looking overgrown or messy can usually be fixed with just a few minutes of light trimming and rearranging.
Final Thoughts
Making a fairy garden is less about following strict rules and more about creating a tiny scene that feels alive and a little enchanted. Start by choosing your location and size, gather a mix of plants and miniature decor, and build the layout in layers — soil, greenery, paths, structures, and finally the small details that make it feel lived-in.
Whether you go all-out with a large garden-bed design, keep things simple in a small pot, build one on a budget with dollar-store finds, or turn the whole thing into a kids’ party activity, the process is flexible enough to fit almost any space, skill level, and budget. Once you’ve built your first one, don’t be surprised if you find yourself planning a second — fairy gardens have a way of becoming a favorite ongoing hobby.