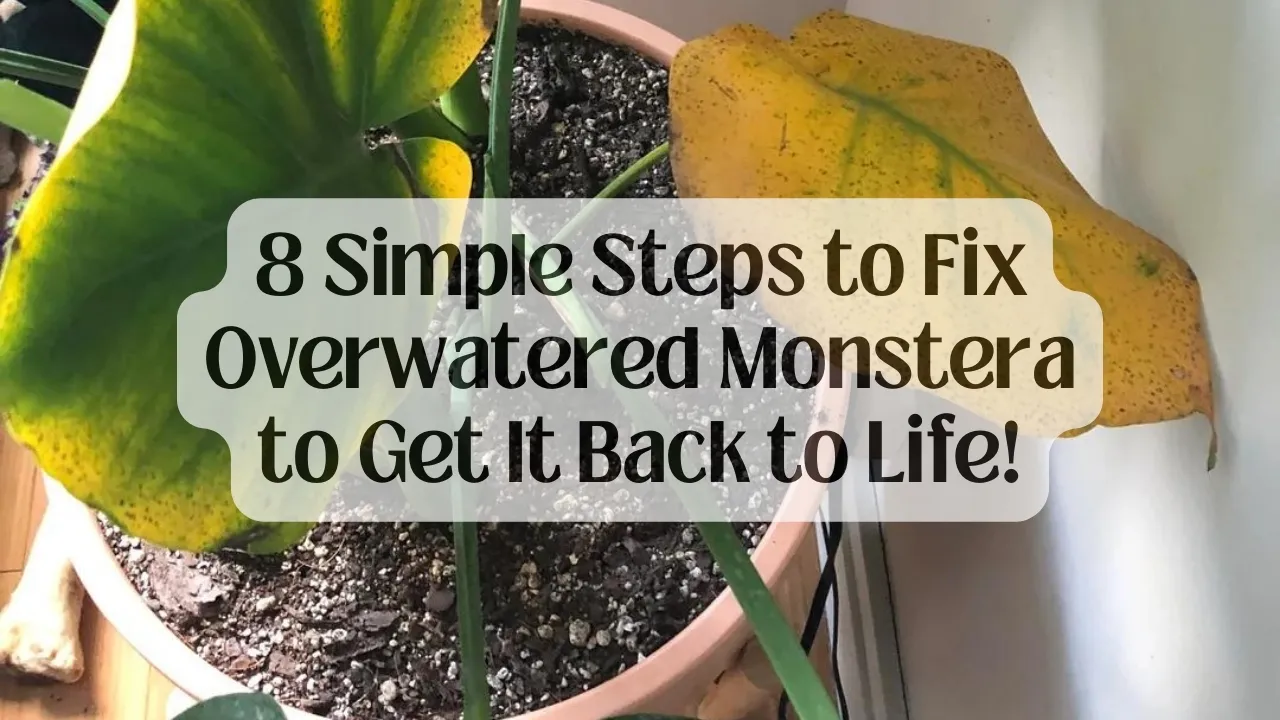
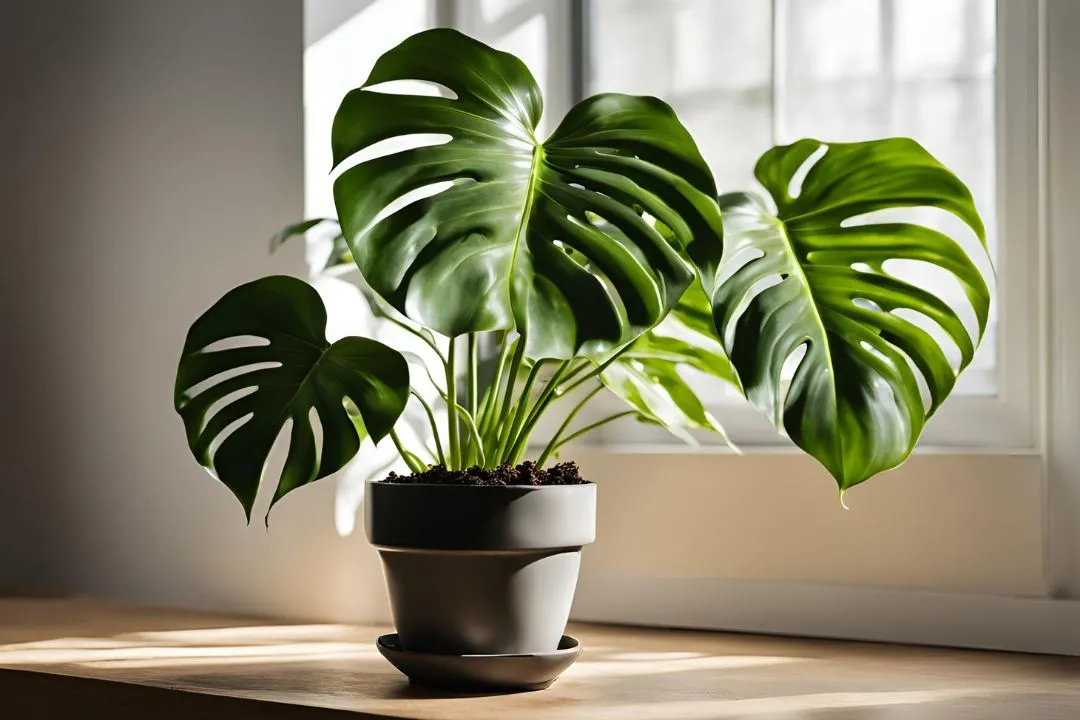
8 Simple Steps to Fix Overwatered Monstera to Get It Back to Life!
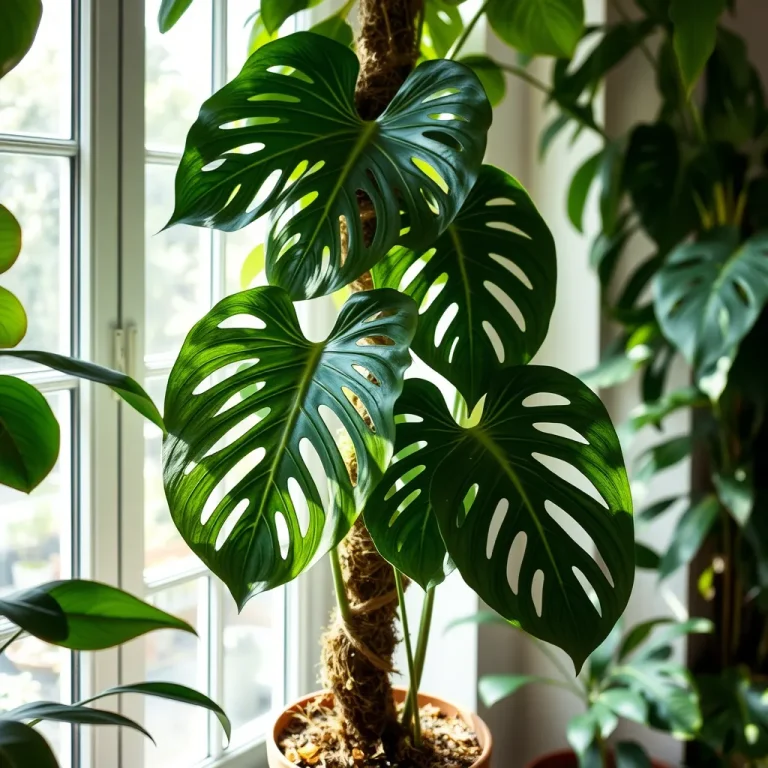
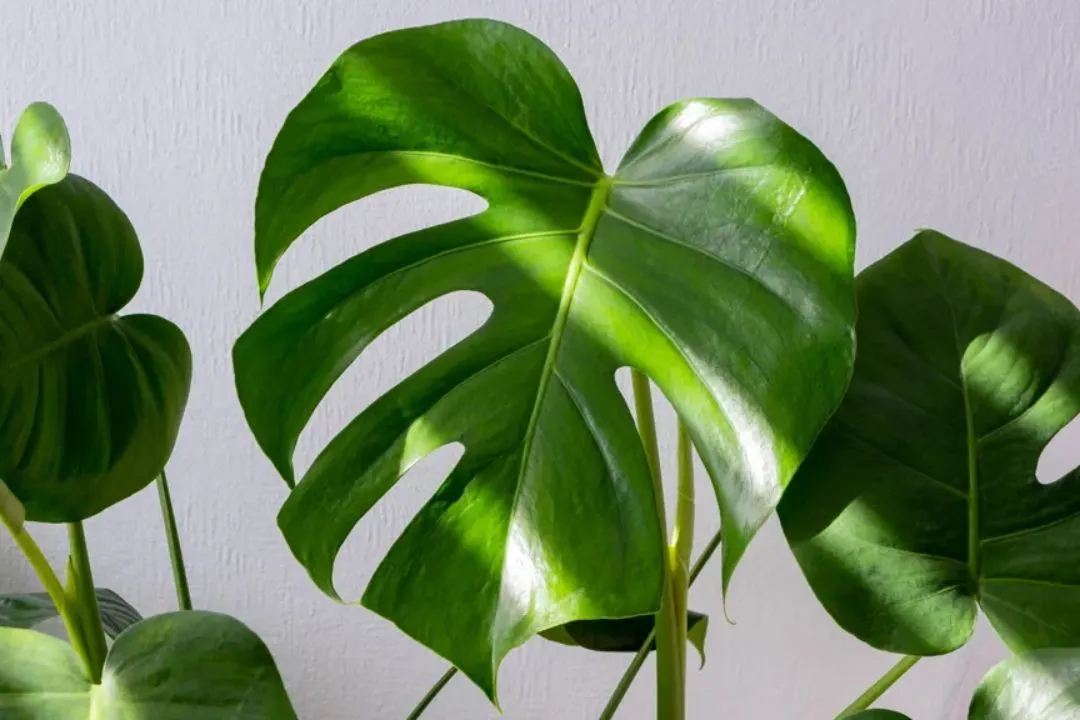
Monstera plant’s lush foliage can quickly turn into a gardener’s nightmare if overwatered. Yellowing leaves, mushy stems, and a foul odor from the soil are all telltale signs of overwatering!
Now, how do you save overwatered Monstera plants? First, remove it from its pot and check the roots. Cut off any mushy, brown, or smelly roots. Repot the plant in fresh, well-draining soil and clean the pot. After repotting, water lightly and place the plant in bright, indirect light. Done!
By following these steps, you can revive your Monstera and get it back to its vibrant self. Want to read it in detail? Let’s dive in!
Table of Contents
How Can I Tell My Monstera is Overwatered? 10 Telltale Signs!

Overwatering can quickly become a serious issue for your Monstera plant, leading to root rot and other problems. Here are some telltale signs that your Monstera has been overwatered.
- Yellowing Leaves: One of the first indicators of overwatering is when the leaves start to turn yellow, especially the older ones near the bottom of the plant.
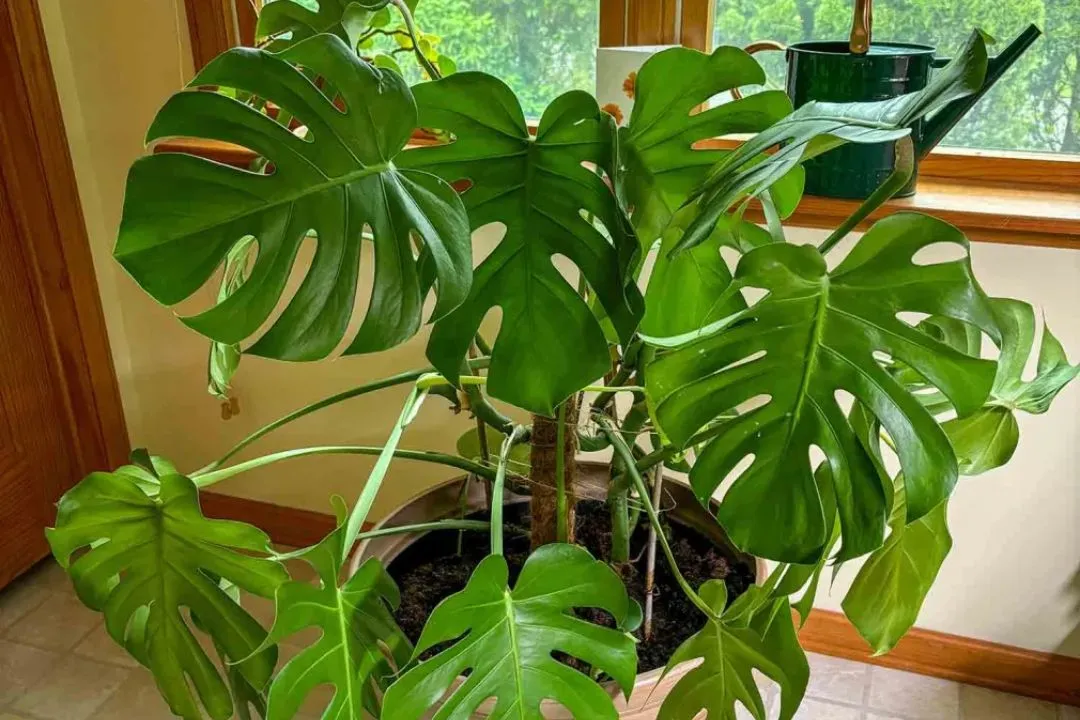
- Wilting or Drooping Leaves: Even though the soil is wet, the leaves may appear wilted or droopy due to the roots being unable to absorb water and nutrients effectively.
- Soft or Mushy Stems: Healthy Monstera stems should be firm and sturdy. If the stems feel soft or mushy to the touch, it could be a sign of root rot caused by overwatering.
- Foul Odor from the Soil: An unpleasant, musty smell coming from the potting mix is a clear indication that the roots are rotting due to excess moisture.
- Root Rot: If you inspect the roots, you may notice that they have turned brown or black and have a mushy texture, which is a classic sign of root rot caused by overwatering.
- Slow Drainage: If the potting mix is too dense or the pot lacks proper drainage holes, water can become trapped, leading to saturated soil conditions. This prevents the roots from getting the oxygen they need and can cause root rot over time.
- Improper Pot Size: Planting your Monstera in a pot that is too large can also contribute to overwatering issues. The excess soil retains moisture for longer periods, making it easier to overwater accidentally.
- Compacted Soil: Over time, the potting mix in your Monstera’s pot can become compacted, preventing proper drainage and aeration. This creates an environment where water pools and roots struggle to breathe.
- Low Light Conditions: Monsteras that don’t receive enough light tend to use water more slowly, increasing the risk of overwatering. Insufficient light can also weaken the plant, making it more susceptible to problems caused by excess moisture.
- Temperature and Humidity: In cooler or more humid environments, soil dries out more slowly, requiring less frequent watering. Failing to adjust your watering schedule based on these factors can lead to overwatering.
Can an Overwatered Monstera Recover?
Absolutely!
In many cases, an overwatered Monstera can recover with some quick action. The key is catching the problem early.
Monsteras are generally resilient plants. By addressing the overwatering and providing proper care, you can often revive your Monstera.
How To Save Overwatered Monstera Plants
Overwatering can quickly become a serious issue for your Monstera plant. It leads to root rot and other problems. Here’s how I managed to save my overwatered Monstera step by step:
Step 1: Remove the Plant from Its Container
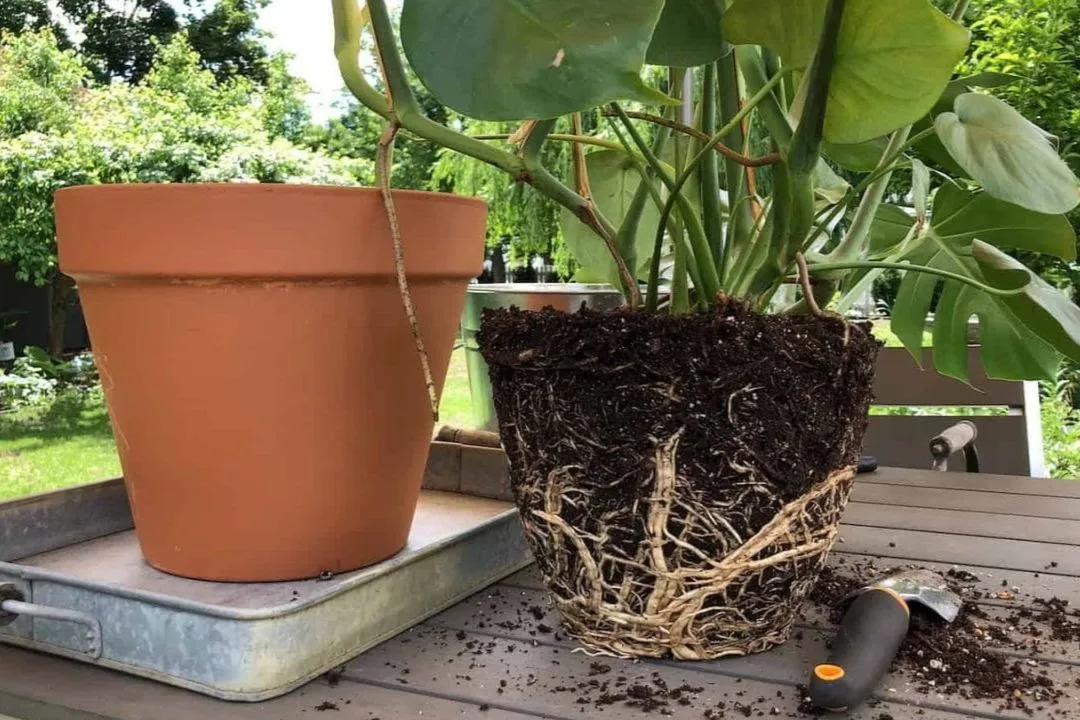
When I first noticed that my Monstera was struggling, I carefully removed it from its pot. You need to be gentle with the roots and stems during this process. I held the plant at the base and slowly tipped the pot upside down, supporting the soil and root ball with my other hand.
This allowed me to inspect the root system and potting mix thoroughly.
Step 2: Inspect the Roots and Remove Damaged Portions
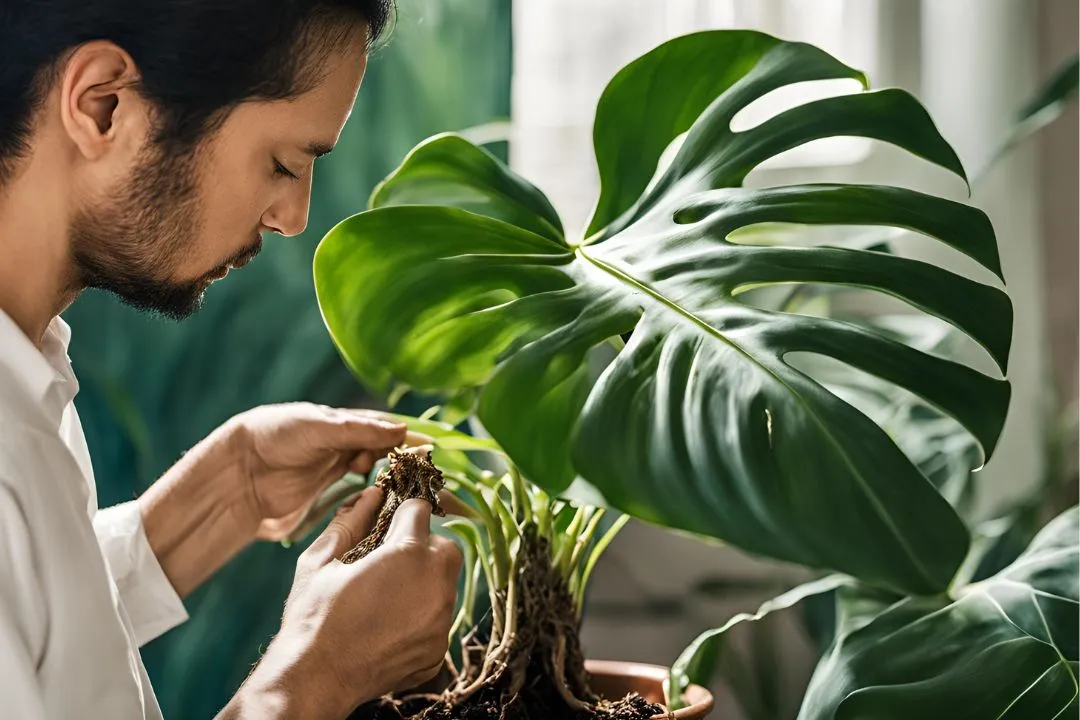
Once the plant was out of its pot, I gently shook off the excess potting mix from the roots. This was crucial to see the extent of the damage. I closely examined the roots and found several that were brown, mushy, and had a foul smell – classic signs of root rot.
Using clean, sharp pruners, I trimmed away these damaged roots. I ensured to leave only the healthy, white ones intact. It’s essential to use sanitized tools to prevent further infection.
Step 3: Prepare a Fresh Potting Mix
I discarded the old, waterlogged potting mix since it can harbor pathogens and contribute to further root rot. To prepare a fresh, well-draining potting mix, I combined equal parts perlite, orchid bark, and high-quality potting soil.
This mix provides excellent drainage and aeration, which is vital for the Monstera’s roots to recover and thrive. It’s a bit like giving your plant a fresh start with better soil conditions.
Step 4: Sterilize the Container (Optional)
The pot I had been using didn’t have adequate drainage holes, which was part of the problem. I decided to use a new container with better drainage.
However, if you want to use the same pot, you should sterilize it to kill any lingering pathogens. I washed mine with a mild bleach solution and rinsed it thoroughly. Sterilizing the pot ensures that your plant isn’t reintroduced to any harmful bacteria or fungi.
Step 5: Report the Plant
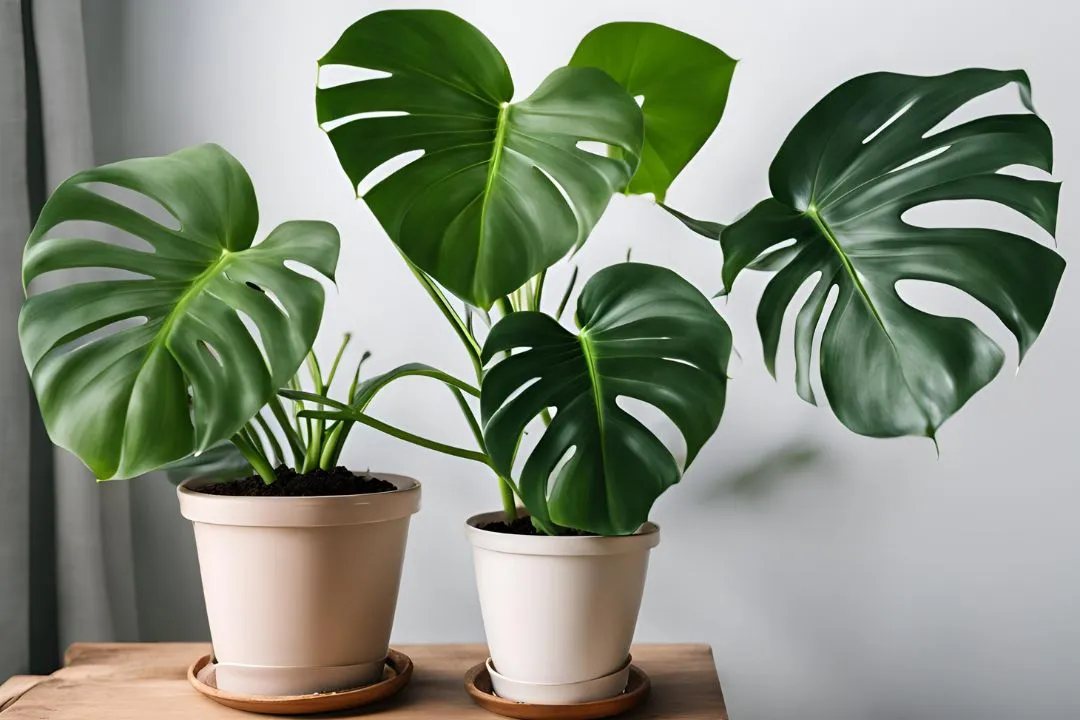
Next, I added a layer of the fresh potting mix to the bottom of the clean container. I gently positioned my Monstera in the center, spreading out the healthy roots as evenly as possible. I then filled in the sides with more potting mix, gently firming it around the roots to secure the plant.
Remember, it’s important not to compact the soil too much, as the roots need space to breathe and grow.
Step 6: Water Appropriately

After repotting, I watered my Monstera lightly, making sure the excess moisture drained out completely. The key here is to avoid overwatering again. I monitored the soil moisture and only watered the plant when the top inch or two of the potting mix felt dry to the touch.
Note: Overwatering is easy to fall into, but this step taught me to be more mindful of my plant’s actual needs.
Step 7: Provide Proper Care
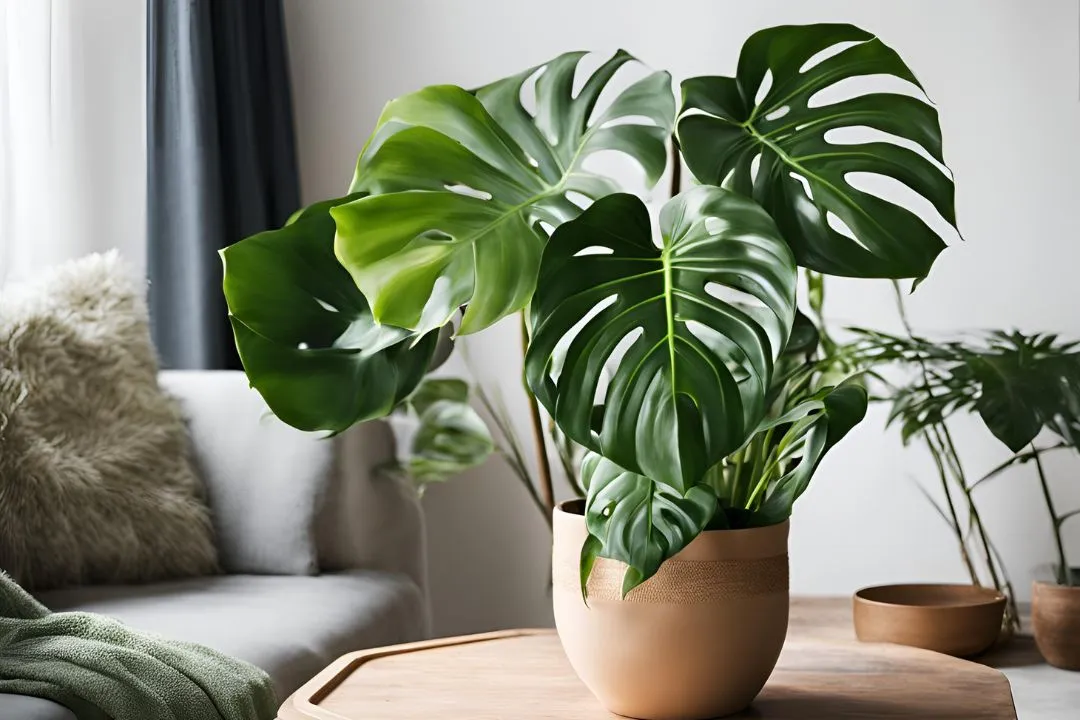
I placed my revived Monstera in a spot with bright, indirect light. Too much direct sunlight can stress the plant further, especially when it’s already recovering.
I also maintained appropriate humidity levels, using a humidifier when needed, and adjusted the watering frequency based on the temperature and humidity in my home. This consistent care helped create an ideal environment for recovery.
Step 8: Monitor and Be Patient
Recovery from overwatering takes time.

I kept a close eye on my Monstera for several weeks, watching for signs of new growth such as unfurling leaves or new roots emerging from the potting mix. It can be a slow process, but with proper care and patience, my Monstera eventually bounced back to its lush and vibrant self.
Monitoring your plant regularly and adjusting care as needed will help ensure its continued health.
Tips for Preventing Overwatering in the Future
Overwatering can be a common issue for many plant owners, but with the right preventative measures, your plants will survive! Here are some tips to help prevent overwatering in the future:
1. Use a Well-Draining Potting Mix
One of the first things I learned was the importance of a good potting mix. I make sure my Monstera is planted in a well-draining mix that includes ingredients like perlite, orchid bark, and coarse sand.
These materials improve aeration and drainage, allowing excess moisture to escape and preventing waterlogged soil.
2. Choose a Pot with Adequate Drainage Holes

Investing in the right pot is crucial. I always use containers with multiple drainage holes at the bottom, which allow excess water to drain out easily. I avoid pots without drainage holes, as they can quickly lead to overwatering and root rot.
3. Water Only When the Soil is Partially Dry
Checking soil moisture is a game-changer. Before watering my Monstera, I stick my finger into the potting mix up to the second knuckle. If the soil feels dry at that depth, it’s time to water.
If it’s still moist, I hold off for a few more days. This simple check helps me avoid unnecessary watering.
4. Adjust Watering Frequency Based on Conditions
You may wonder, how often to water monstera? Or how much water does a monstera need? Right?
I’ve noticed that the watering schedule changes with the seasons. During warmer months or in drier environments, my Monstera needs more frequent watering.
Conversely, in cooler or more humid conditions, I reduce watering to prevent oversaturation. Being mindful of the environment helps me keep my plant happy.
5. Water Thoroughly, but Don’t Overdo It
When I do water my Monstera, I make sure to do it thoroughly until I see excess moisture draining from the bottom of the pot.
However, I’m careful not to let the plant sit in standing water, as this can lead to root rot. It’s about finding that balance between enough and too much.
6. Monitor Your Plant’s Needs
Regularly observing my Monstera has been key. I pay close attention to its appearance and growth patterns. If I notice signs of wilting, yellowing leaves, or stunted growth, it might be an indication that I need to adjust my watering schedule.
7. Consider a Well-Draining Soil Topper
Adding a layer of materials like perlite, gravel, or leca (lightweight expanded clay aggregate) on top of the soil has been very effective. This helps improve drainage and prevents water from pooling on the surface, which can be a lifesaver for my Monstera roots.
Get more information to rescue your favorite Monstera plants by checking out the video –
FAQs
Get more discussions and responses about the Monstera plant’s overwatered problem!
Q. Can I bottom water my Monstera to avoid overwatering?
Yes, bottom watering can be a helpful technique for Monsteras. Fill a tray or dish with water and place the pot on top, allowing the plant to absorb water from the bottom up. Once the top of the soil feels moist, remove the pot from the water.
Q. Should I adjust my Monstera watering schedule in winter?
Yes, Monsteras typically require less water in winter due to decreased light and lower temperatures. Allow the soil to dry out more thoroughly between waterings during this time.
Q. Can I spray water on Monstera?
Sure! Misting Monstera increases humidity, which they can appreciate. However, it doesn’t significantly contribute to watering the plant. Focus on watering the soil thoroughly when needed.
Q. What is the best fertilizer for Monstera in water?
For Monsteras in water, a balanced liquid fertilizer diluted to half strength is ideal. Apply monthly during the growing season (spring and summer) and withhold fertilizer in winter.
Q. How to know if Monstera is thirsty?
As I said, look for signs like drooping or curling leaves, lighter-colored leaves, and dry, crispy edges. When the top inch or two of soil feels dry to the touch, it’s time to water.
Final Word
Reviving an overwatered Monstera plant feels like a race against time, but don’t lose hope! With the right approach, you can definitely bring it back to life. It’s all about getting to the root of the problem (literally!) and giving your plant a fresh start.
Remember, prevention is key to keeping your Monstera thriving in the long run. By mastering proper watering techniques and creating the perfect environment for your plant, you’ll rescue it. Trust me, seeing your Monstera bounce back healthier will make you feel so good!
Meta Description:
Revive your overwatered Monstera with 8 simple steps! Learn how to identify signs of overwatering, remove rot, repot in soil, and care for recovery.