Alocasia Propagation – 3 Methods Explained!
Propagating Alocasia allows you to multiply your plant collection for free. It also preserves prized varieties and allows you to share these beauties with fellow plant lovers.
But how to perform Alocasia Propagation? You can do it in a couple of ways. You can perform it by division and detaching offsets. Sometimes, cutting the rhizome will also work. All these methods need at least intermediate-level expertise in plant management. So, if you’re not, I’d recommend you not to do propagation.
Keep your eyes on this content as I’ll emphasize everything about Alocasia propagation. I’ll try to talk about the methods and the way you should execute them. Keep on reading!
Table of Contents
3 Types Of Alocasia Propagation Methods
Plant lovers use special methods, not just basic care, to grow more Alocasia plants and make their collections bigger. Alocasias have stunning foliage and architectural form. Propagation techniques, each with unique steps, include:
- The plant and root structure are divided into sections with leaves. These sections can grow when replanted.
- You can make new plants by cutting parts of the underground stem with nodes.
- You can remove and replant miniature plants that grow near the main Alocasia plant.
Learning specialized propagation techniques allows enthusiasts to increase their Alocasia collections. Key methods involve division, rhizome cutting, or detaching offsets for standalone growth.
1. Division Propagation Method
Division involves splitting the plant into smaller sections, with each segment containing roots and growth buds. It’s best for mature, multi-stemmed plants.
Here’s a step-by-step guide:
- Carefully uproot the plant and rinse off the soil.
- Use a sharp, sterile knife to slice through the root mass, dividing it into smaller plants. Each division should have 3-5 stems and plenty of healthy roots.
- Allow divisions to dry for 2-3 days before replanting. This prevents diseases.
- Replant divisions in pots using well-draining soil. Provide adequate moisture and humidity while they are established.
The division is an effective propagation technique for Alocasia. It allows you to multiply large specimens quickly. However, it can be traumatic for the parent plant. So use it judiciously.
2. Propagating Alocasia By Rhizome Cutting
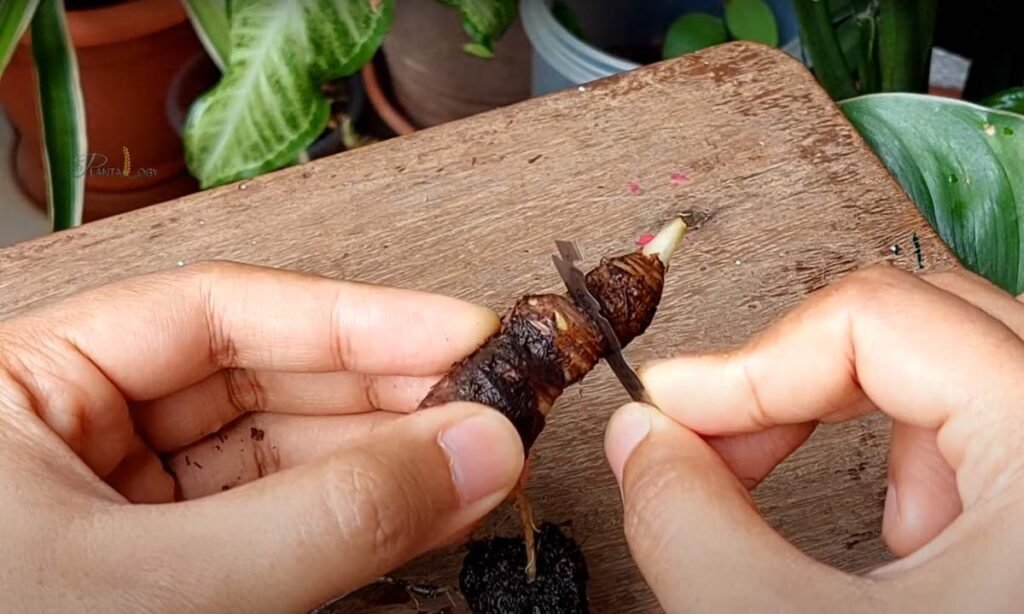
The rhizome is the thick, underground stem from which roots and shoots emerge. Rhizome cuttings involve removing a piece of the rhizome and rooting it to grow a new plant.
Here’s a step-by-step guide:
- Carefully dig up the plant and locate the rhizome. Select a healthy 5-6 inch segment.
- Use a clean, sharp knife to detach the rhizome piece, retaining some roots.
- Allow the cutting to dry for 2-3 days.
- Plant the rhizome in a pot filled with well-draining soil. Bury it just below the surface.
- Maintain warm temperatures and high humidity as the new growth emerges.
- Be patient as the cutting is established over several weeks. Fertilize sparingly.
Rhizome cuttings enable endless Alocasia propagation with minimal damage to the mother plant. However, they take time to develop compared to other methods.
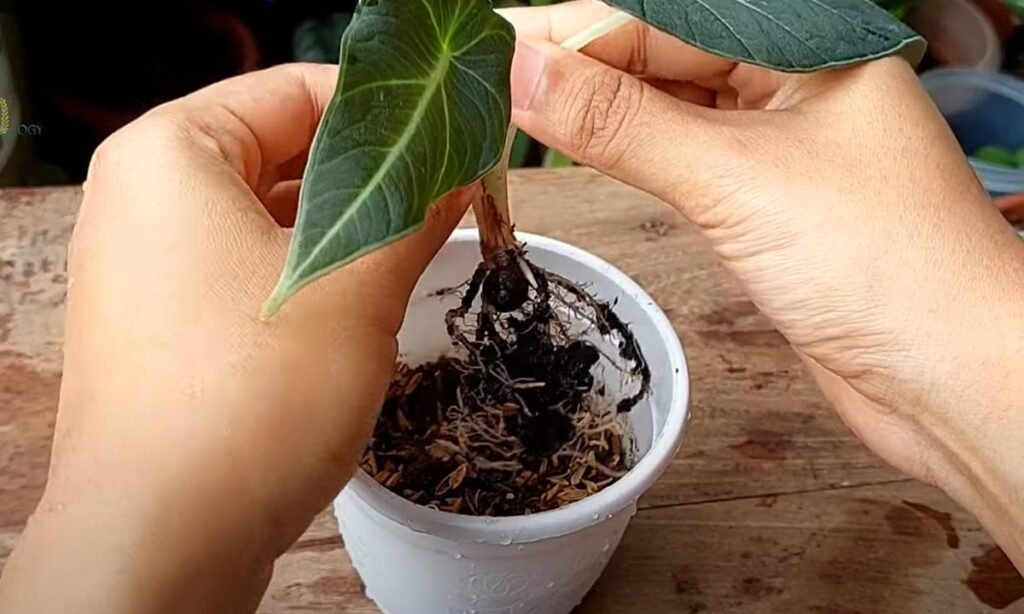
3. Alocasia Propagation By Offsets
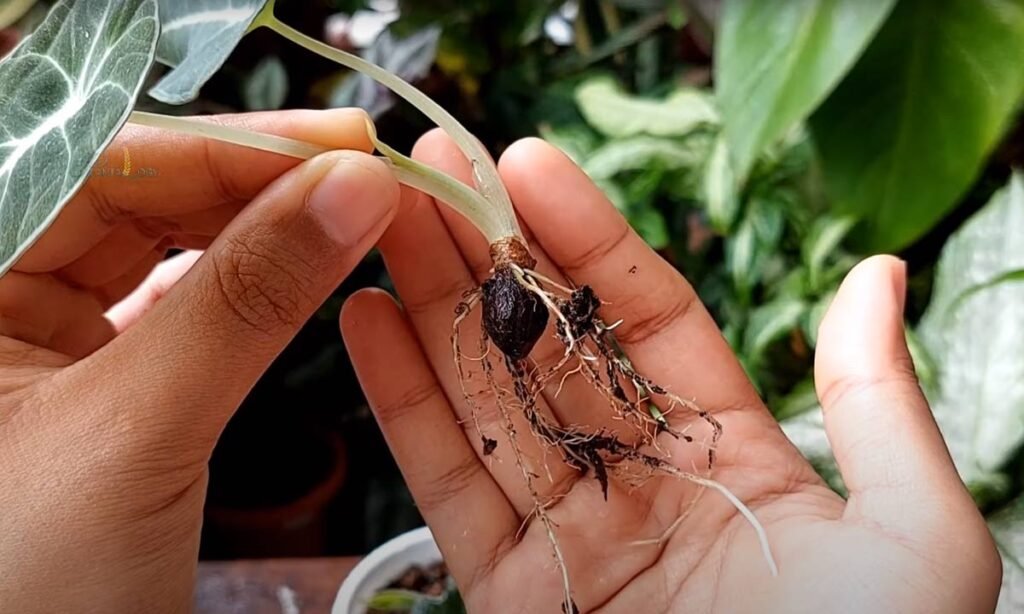
Offsets are miniature plants that arise from the main plant. Mature Alocasia often produce offsets around their base. These have their own roots but are still attached to the parent.
Here’s how to propagate Alocasia from offsets–
- Carefully uproot the plant and look for offsets around the base.
- Use sterile shears to detach the offsets with roots intact.
- Allow offsets to dry for 2-3 days before replanting.
- Pot the offsets individually in a well-draining soil mix.
- Provide warmth, humidity, and filtered light as they establish.
- Water sparingly at first. Fertilize monthly once the offset is growing.
Propagating by offsets allows rapid Alocasia multiplication. But not all varieties produce them. So this method has limited use.
Recommended articles:
Discover Suitable Conditions For Successful Propagation
The better the environment, the more successful the propagation of Alocasia plants will be. Here’s a short sneak peek of an ideal environment for Alocasia.
| Condition | Requirement |
|---|---|
| Temperature | Between 65-75°F (18-24°C) |
| Humidity | Above 60% |
| Light | Indirect, bright light |
| Soil | Well-draining, rich in organic matter |
| Water | Keep consistently moist, not waterlogged |
8 Pro Tips for Alocasia Propagation
Caring for propagating Alocasia plants is vital for their survival and growth. Here are some essential care tips:
- Provide bright, filtered light. Direct sun will scorch their foliage.
- Maintain indoor temperatures between 70-80 F. Cooler conditions slow growth.
- Keep humidity around 60-70% to minimize transplant shock. Mist frequently.
- Use a well-draining potting mix, like peat-perlite or peat-vermiculite. This prevents root rot.
- Water moderately letting the soil partially dry out between waterings. Take care not to overwater.
- Fertilize with a balanced liquid fertilizer every 2-3 weeks during the growing period.
- Monitor for pests like spider mites that may attack tender new growth. Treat any infestations promptly.
- Allow cuttings and divisions time to root well before attempting to repot or transplant.
With attentive care, your propagation will flourish, transforming into full-sized beauties.
Monitoring Growth And Development: What to Expect?
It’s exciting to watch your propagations grow from tiny cuttings to mature plants. Here’s what to expect.
- Rhizome cuttings – These form roots within 2-3 weeks. Foliage growth appears in 4-8 weeks. The whole process takes 10-16 weeks.
- Offsets – Being more mature, offsets show foliage growth within 1-2 weeks after separation. Root establishment occurs in 3-5 weeks.
- Divisions – Since divisions have existing roots and growth buds, they establish the quickest. Expect new leaf activity in as little as 2 weeks.
Monitor your propagation and provide good growing conditions to encourage vigorous development. Divisions fill out faster than rhizome cuttings. But the latter causes no harm to the mother plant.
4 Potential Setbacks And How To Address
Despite best efforts, you may encounter some setbacks. Here’s how to get back on track:
- Yellowing Leaves: Let the topsoil dry between waterings to fix overwatering issues.
- Brown Leaf Edges: Boost humidity using a pebble tray or humidifier to address low humidity.
- Stunted Growth: Check your care routine, ensuring proper light, water, and nutrition.
- Pests: Watch for common Alocasia pests like spider mites and treat it promptly with insecticide or neem oil.
FAQs
Here are some common questions that people may ask after going through this article.
Q: How big should rhizome cuttings be?
Aim for cuttings 5-6 inches long containing a few roots and growth nodes. Mini 2-3 inch pieces may be too small to establish well.
Q: Can you propagate Alocasia in water?
Yes, but soil propagation has higher success rates. Change the water every 2-3 days if propagating in water to prevent rotting.
Q: When is the best time to divide Alocasia?
Early spring, before active growth resumes, is ideal. The plant has time to recover before summer.
Q: How to encourage more offsets?
Providing good light, frequent division, and optimal feeding encourages Alocasias to produce more offsets.
Q: How to store divisions or cuttings for later planting?
Allow fresh cuttings and divisions to dry for 2-3 days. Pack them in slightly moist sphagnum moss or vermiculite. Store in a cool place for up to 3-4 weeks.
Sums Up
Growing more Alocasia plants can be very satisfying. By being patient and using the right methods, you can increase your collection of these lovely elephant ear plants.
Always use clean tools, pick healthy parent plants, and create the perfect conditions for growth. Enjoy the process of growing new plants and see both your gardening skills and your Alocasia flourish.